Prerequisites
- Business Central Account: Ensure you have access to Microsoft Dynamics 365 Business Central.
- Admin Access: You need admin access to generate web access keys and manage Azure Active Directory.
- API Permission: Ensure that you have API access permissions for the tenant.
Generating Web Access Key in Business Central
1. Sign in to Business Central:
- Go to your Business Central dashboard.
- Use the URL similar to
https://businesscentral.dynamics.com/yourtenantID/Sandbox.
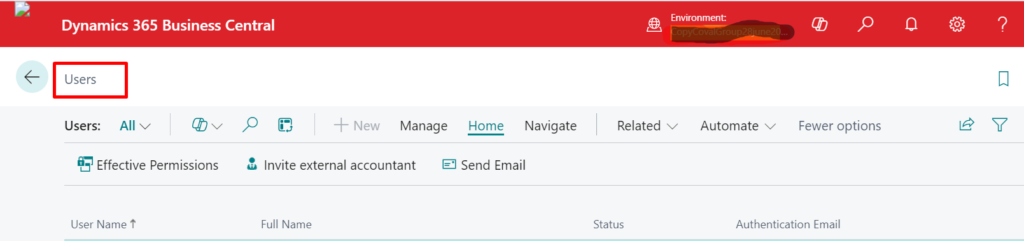
2. Navigate to Users:
- Use the search bar at the top of the Business Central dashboard.
- Type “Users” and select “Users” from the search results.
3. Select a User:
- Choose the user you want to generate the access key for. Typically, you would generate this for a service account rather than a personal user account.
4. Generate Web Service Access Key:
- Once you’ve selected a user, click on “Edit” to modify the user settings.
- Look for the “Web Service Access Key” section.
- Click on “Change Key” to generate a new key. This will create a new access key associated with this user.

- Copy the Web Service Access Key and store it securely. You will use this key to authenticate your API requests.
Using OAuth2 for API Access (Optional)
If you’re looking to use OAuth2 authentication with Azure Active Directory, follow these steps:
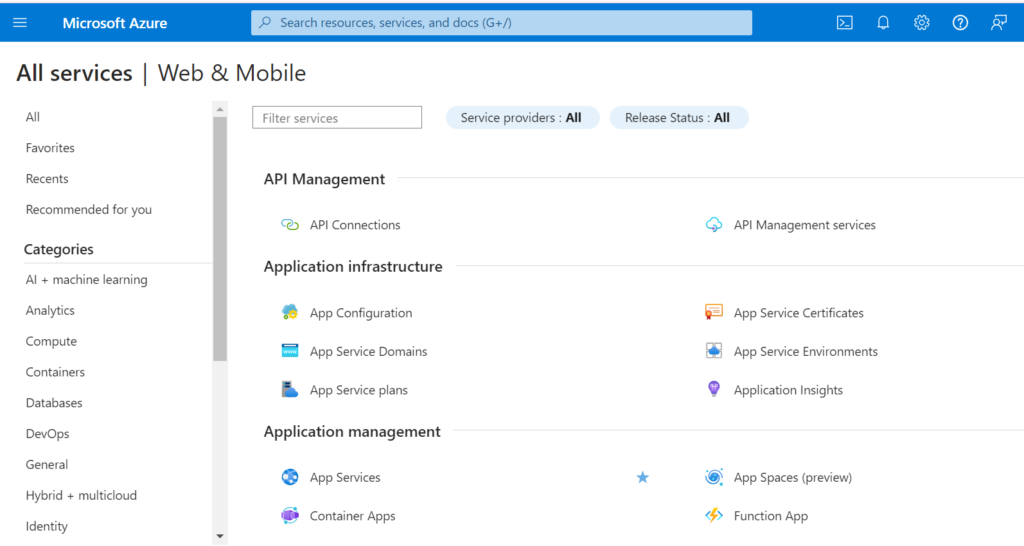
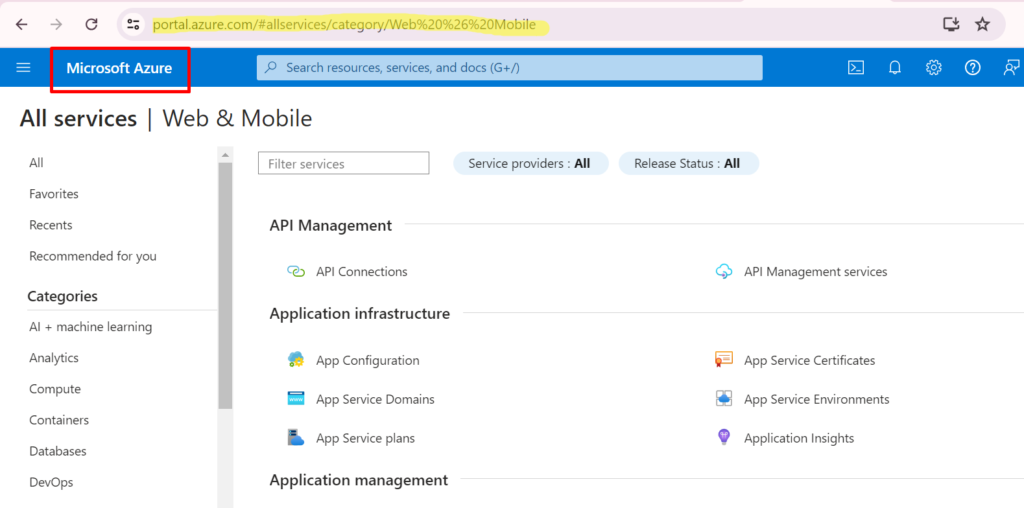
1. Register an Application in Azure AD:
- Go to the Azure Portal.
- Navigate to “Azure Active Directory” -> “App registrations”.
- Click on “New registration”.
- Name: Give your application a name.
- Redirect URI: Enter
https://businesscentral.dynamics.com/OAuthLanding.htm.
- Click “Register”.
2. Configure API Permissions:
- After registering, select your application.
- Navigate to “API permissions”.
- Click “Add a permission”.
- Select “APIs my organization uses” and find “Dynamics 365 Business Central”.
- Add permissions such as “API.ReadWrite.All” depending on your access needs.
3. Generate Client Secret:
- Navigate to “Certificates & secrets”.
- Click on “New client secret”.
- Note down the client secret; you’ll need it for token requests.
4. Get the Tenant ID and Client ID:
- From your Azure AD app registration overview page, note down the Tenant ID and Client ID.
5. Use OAuth2 to Get Access Token:
Here is an example of using a REST client like Postman or a script to get an access token:
bashCopy codePOST https://login.microsoftonline.com/{tenant_id}/oauth2/v2.0/token
Content-Type: application/x-www-form-urlencoded

grant_type=client_credentials&
client_id={client_id}&
client_secret={client_secret}&
scope=https://api.businesscentral.dynamics.com/.default
Replace {tenant_id}, {client_id}, and {client_secret} with your details.
6. Use Access Token for API Requests:
With the access token, you can authenticate your API requests. Here’s an example using cURL:
bashCopy codecurl -X GET "https://api.businesscentral.dynamics.com/v2.0/{tenant_id}/Sandbox/ODataV4/Company('CRONUS IN')/Chart_of_Accounts" \
-H "Authorization: Bearer {access_token}"
Replace {access_token} with the token received from the OAuth2 request.
Using Web Access Key for API Authentication
Once you have the web access key:
- Basic Authentication: Use this key as a password with the username set to the Business Central user account.
Here’s an example of how you can use the web access key for a cURL request:
bashCopy codecurl -X GET "https://api.businesscentral.dynamics.com/v2.0/9dd8b83b-d50c-4c3d-8dca-11e1c6bca830/Sandbox/ODataV4/Company('CRONUS IN')/Chart_of_Accounts" \
-u "username:web_service_access_key"
Testing Your API Access
- Postman: Use the Postman application to send GET requests to your API endpoint using the generated key or OAuth2 token.
- cURL: Use the command line to send HTTP requests with the access key for testing purposes.
- Custom Application: Integrate your access key or token into your custom applications for seamless Business Central data access.
Troubleshooting Tips
- Invalid Credentials: Double-check the username and web service access key or OAuth2 credentials.
- Permissions: Ensure your Azure AD app has the correct permissions to access Business Central data.
- URL Structure: Verify the URL endpoint structure for accuracy.
Conclusion
By following these steps, you can successfully generate a web access key or use OAuth2 for authenticating your access to the Business Central API. Remember to keep your credentials secure and regularly rotate access keys for enhanced security.